Welcome to the ultimate guide to caulking tips just for you, our DIY handyman enthusiasts in Savannah, GA. Here at Savannah Handyman, we know how important it is to keep those joints and seams around your home in tip-top shape. Leaky caulking can lead to unwanted drafts, moisture problems, and a host of other issues. But fear not, our guide is here to empower you with all the knowledge you need to seal the deal confidently!
Contents
Understanding Caulking: Why It Matters
Caulking is more than just squeezing some goo out of a tube. It’s a crucial aspect of home maintenance that ensures your residence remains energy-efficient and weatherproof. Proper caulking keeps out moisture, prevents heat loss, and even deters pesky insects from making their way inside.
Moreover, caulking adds to the aesthetic appeal of your home. Seamless and clean lines along your window sills, baseboards, and other joints can make a world of difference. So, let’s dive into the world of caulking and see how you can master this art!
Tools of the Trade: What You’ll Need
To embark on a successful caulking adventure, you’re going to need the right tools. Imagine trying to paint a masterpiece without brushes — it just wouldn’t work as well.
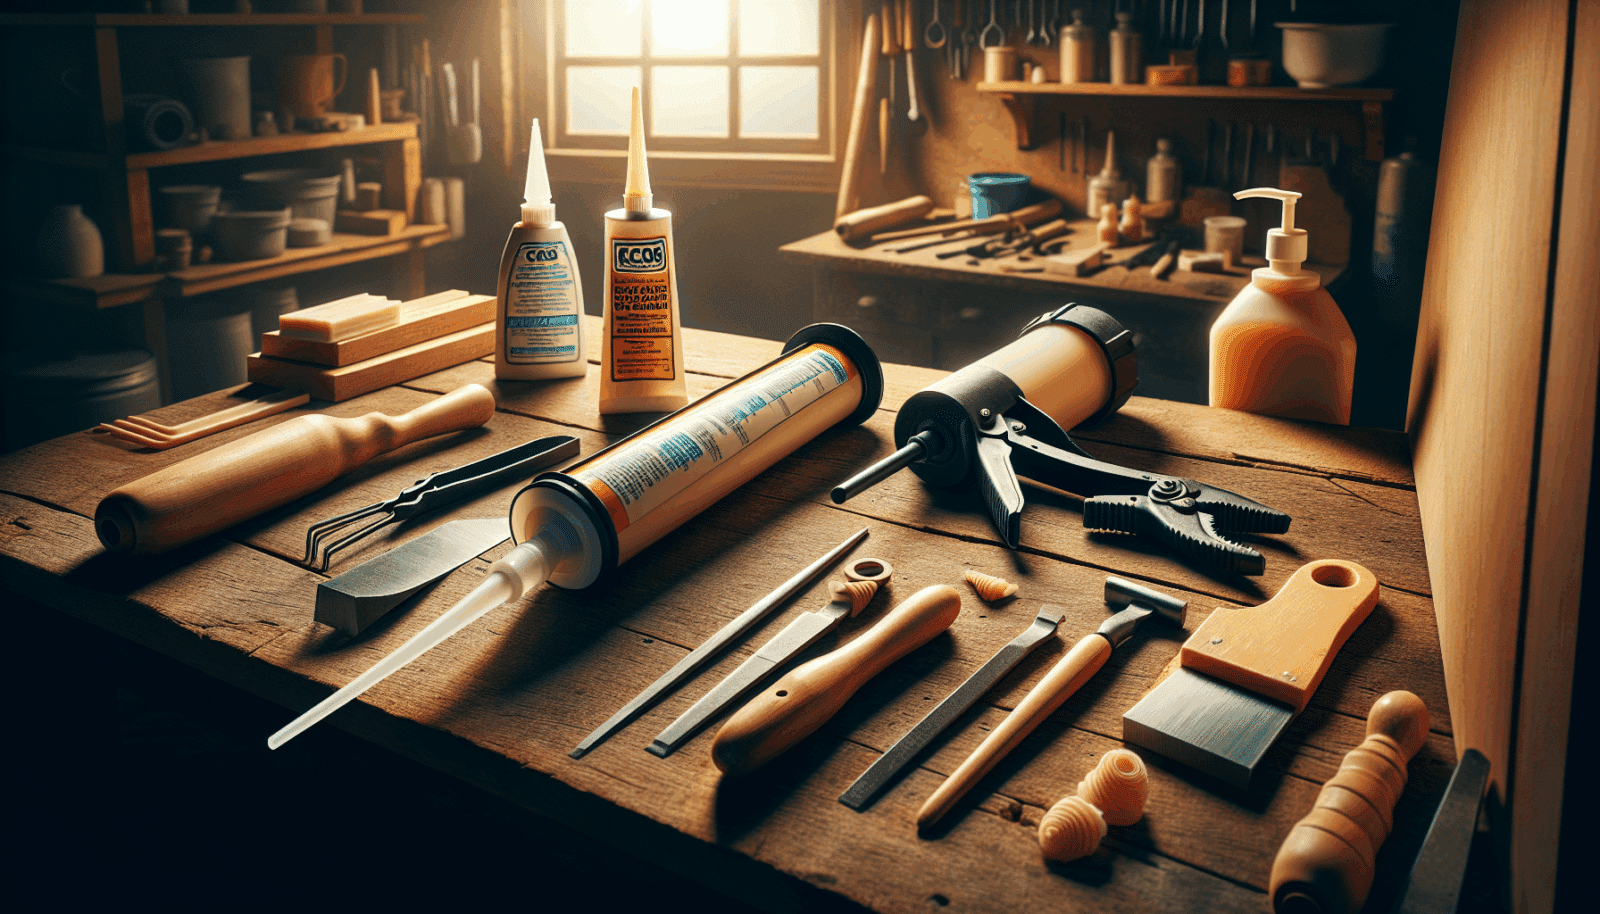
Essential tools every DIY caulker should have include a quality caulking gun, a utility knife, a bucket of water with a sponge, and caulking tubes in the color of your choice. Each tool has a specific role to play, ensuring smooth application and a professional finish.
Choosing the Right Caulk
Don’t let the variety of caulks at the store overwhelm you. Choosing the right caulk is crucial and depends heavily on where you plan to apply it. There are caulks for every purpose, from bathroom sealing to exterior gaps.
Indoor projects typically require acrylic latex caulk, which is easy to clean and paintable. If you’re working outdoors, consider using silicone or polyurethane caulk for its durability and weather resistance. Knowing your caulking types means half the battle is won!
Preparing the Surface
Preparation is key to a successful caulking job. Before applying new caulk, make sure the surface is clean and free of old caulk, dust, or grime. This will ensure better adhesion and a longer-lasting seal.
A utility knife or scraper can assist you in removing old caulk. Use a mild cleaner and water to wash away any remaining residue. Once cleaned, dry the area thoroughly before starting your work; moisture can interfere with the caulk’s ability to set correctly.
Application Techniques
Now, let’s get to the fun part — applying the caulk! Cut the nozzle tip of the caulking tube at a 45-degree angle for precision. Remember, practice makes perfect, so don’t be disheartened if your first few attempts are a bit messy.
Hold the caulking gun at a steady angle and squeeze the trigger evenly as you move along the seam. Once applied, use a wet finger or a caulking tool to smooth out the line, ensuring it’s even and neat.
Common Mistakes to Avoid
Even seasoned caulkers encounter common pitfalls. Awareness and preparation can prevent these errors before they happen.
- Skipping Surface Preparation: Not cleaning the surface can cause the caulk to peel prematurely. Always ensure surfaces are clean and dry.
- Uneven Application: An uneven bead looks unsightly and may not adhere properly. Take your time to maintain a steady hand.
- Using the Wrong Caulk: Different areas require specific caulks. Selecting the wrong one could diminish effectiveness.
- Over-Application: Too much caulk can lead to messiness and wasted product. Apply a thin, even bead for the best results.
- Ignoring Drying Times: Allow adequate drying time for caulk to set. Remember, patience is vital for a long-lasting finish.
Tips for Exterior Caulking
Exterior caulking faces the elements, making it essential to do it right. Tackling this job during moderate weather is ideal, avoiding extreme heat or cold.
Temperature impacts drying times and adhesion. Moreover, always opt for weatherproof caulks designed for outdoor use. Such products withstand rain, sun, and temperature fluctuations beautifully.
Getting the Perfect Finish
A professional-looking finish can elevate your space’s overall look. Smoothing out caulk lines not only improves aesthetics but also ensures efficiency in sealing.
Use a damp cloth to wipe away any excess, and consider running a putty knife lightly along the seam for perfect edges. The result is a clean, polished finish that not only functions well but adds to the beauty of your home.
Caulking Maintenance Tips
Your caulking journey doesn’t end with just application. Regular maintenance helps prolong the life of your seals, preventing future issues.
Inspect caulked areas annually for cracks or damage. Address these promptly to prevent larger problems. Touch up where needed, ensuring your home’s defenses remain robust.
When to Call the Professionals
Sometimes, calling in the pros is the best choice. If your caulking needs are extensive or involve high places, don’t hesitate to reach out.
We at Savannah Handyman are ready to assist you with any caulking challenges. Our team can ensure a job well done, saving you time and hassle while guaranteeing top-notch results.
Remember, when it comes to caulking, preparation, technique, and patience are your best allies. For more information and any assistance, reach out to us by phone # 912-600-3283 or Request a Free Quote.


